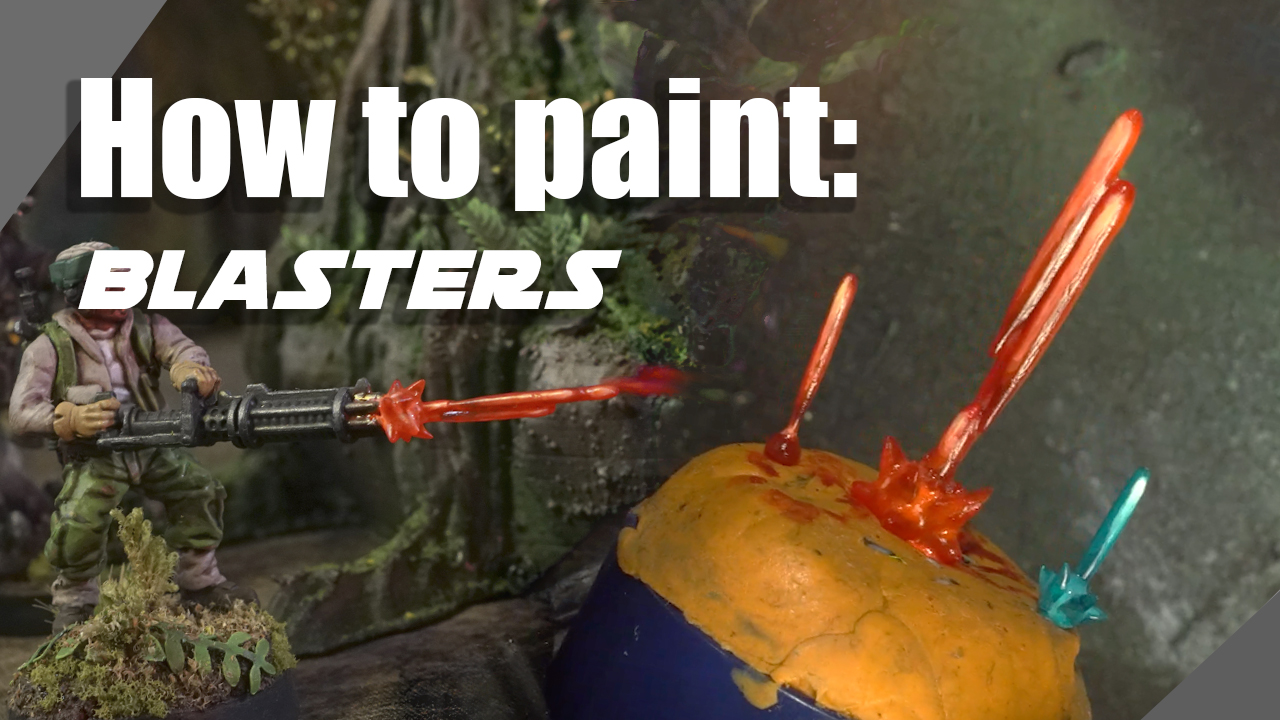
We have developed a broad range of smoke and fire bases to sustitute the GW stick. Here a small guide how to paint it, full of small tricks that will help you to paint all kind of smoke and fire Fx.

We are going to follow the paintig of 2 bases and fire thrusters of this Orlocks.
Materials

For this particular case we wanted to create a really dark smoke color, like an old train smoke with a really bright fires.
You can use any kind of paints, but the paints that are key for our method are Vallejo Fluo paints.
Preparation

Those paints are really thin and don’t cover really well, for that reason you need a white base. Create a mix of 50/50 of white paint with water and leave the white in all the receses and parts that you want to be fire.
Also, add white in the holes of all the thrusters zone. Why I do that? We print the 90% of our FX with translucent resin, and It’s good to keep a bit of translucency in the fire parts and we want to keep the center zone of the fire white, the more bright part have to be the inner thurster.


It’s time to prime and create a gradient for the smoke! This is the more tedius part, but always a good base for painting will help you painting details. We use Airbrush but you can do it this gradient with waterblending technique


We add a bit of golden titanium white to the more bright part of the fire. 50/50 thinned with water.

We did the same to the fire thursters.

Adding color!
It’s time to add some color! We always start painting the fire from the more bright to the darker.


The inner parts of the fire are the brighter and we use this fluo color to have the maximum bright and possible. To add contrast, we try always to add oranfe/red close to those part too to create the maximun contrast as possible.

Time for some Orange Fluo paints! Some parts can be dont with overbrush or drybrush, but be very carefull, this paint it’s really thin. Probably, you need to do 2-3 thin layers to achieve a really bright color.


We add some embers in the smoke to give that look of a old tech backpack. You can start to add orange to the brim and closer zones of the miniature to create an OSL.
To add more contrast to the firy part and paint a bit more down at the smoke stick we add this bright red.


At this point, it’s time to glue the miniatures to the smoke stick base.


At this stage, the miniatures are looking really cool, but we want to push a bit more the painting!
To add more contrast we create a mix of a dark purple and we add it closer to the brighter areas and the tips of the fire thursters.

Time to work a bit more in the bottom smoke part. We start with some inks to create a gradient from the dark part of the plume to the lighter part but keeping the translucency of the resin.

We start with agrax in all the surface and Nuln oil to the part closer to the dark part of the smoke.


For the final touches of the smoke we did a bit of drybrushing of light grays in 2 stages with makeup brushes.


The last part it’s the OSL of the fire parts. We only use Vallejo fluo orange paint in this process. It’s a longer process with a lot of thin layers of Fluo orange with thinner. More layer, more bright and better gradients. Here a few images of the process.
We have to think a lot of the ligth source and how it’ll affect to the sourface around it and the shadows that it create. One thing that help me a lot it’s using my phone light to check where I have to add more orange or less and where are the shadows.


Hope you find usefull this tutorial! We want to start doing video tutorials, 2021 here we go!
As always, happy painting and 3d printing!
